Chinese Ensemble National Day Covers
August 15, 2019
EMTV 32: Moon River featuring Nicole Li Ge
September 25, 2019How to Replace the Guzheng String
We’reeee back! This time we’ll be talking bout the replacement of the Guzheng string!
A few episodes ago, we gave a quick tutorial on how to tune the Guzheng. If you’ve been practicing hard, you’ve probably broke a string or two. Now, it’s finally time for us to discuss how we replace the Guzheng string!
Before we begin, as always, let’s get to know the Guzheng even better.
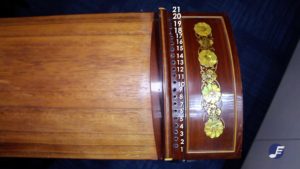
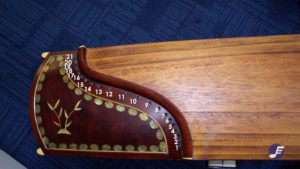
In the last episode, we discussed what individual strings are tuned to. The sequence was given to you from the thickest string furthest away from you. However, when it comes to string numbers and string arrangement, we actually start counting from the one that’s closest to you. If you take a look at your Guzheng, you’ll notice that the string closest to you (assuming you’re seated in the playing position), you’ll see that the string closest to you is the highest note(or the thinnest string) of the guzheng. This is known as string no.1! Going up the row of strings, the number increases, and so does the thickness. So in total, there’s string no.1 (thinnest) to string no. 21 (thickest). This applies to both sides of the Guzheng.
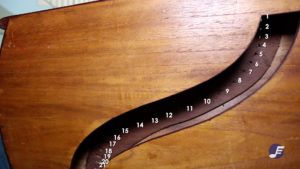
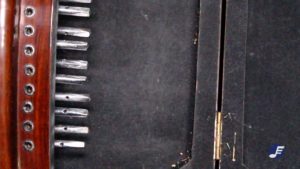
So, with this basic idea in mind, we have to flip the Guzheng to reveal the under belly of this instrument. No, we’re not giving it a belly rub, we’re actually going to take a look at how we insert the Guzheng strings (they have to go in somewhere). However! The sequence of strings arrangement is flipped up-side-down once you’ve flipped the Guzheng. So don’t get confused, because now string no.1 is on top, while string no.21 is at the bottom insertion hole. Don’t get mixed up!
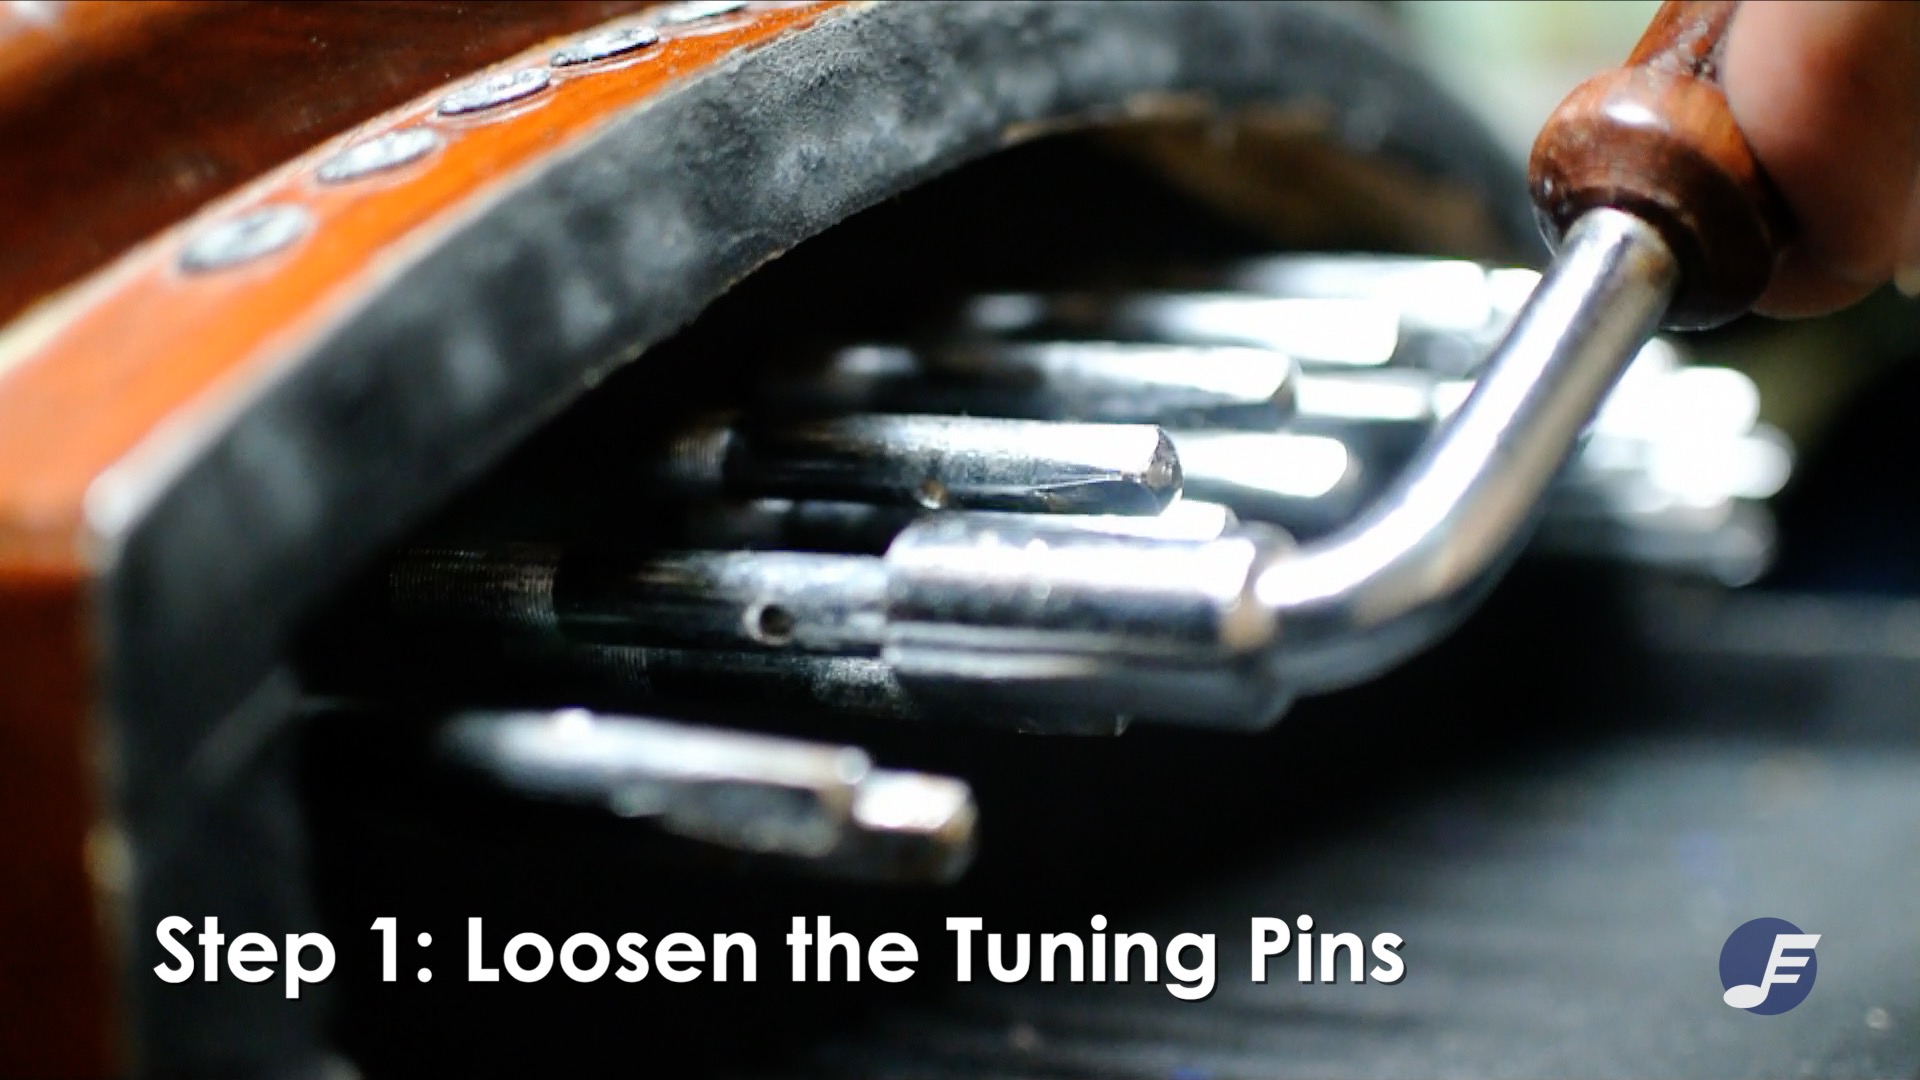
Now, with that out of the way, let’s get into the real hands-on part of this tutorial. Let’s assume you’ve already removed the broken string, the very first step you need to do is to loosen the tuning pin. Just pull the wrench towards you to loosen. You’ll be turning it 3-5 rounds, depending on the guzheng itself and the length of the pin.
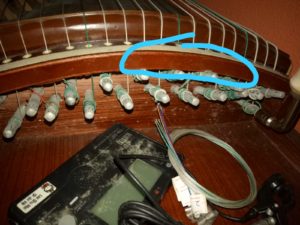
Why isn’t the first step directly inserting the string, you may ask. Often times, people never bothered much about the depth of tuning pins while replacing the strings. If they continue to tighten the pins from the same position as when the string broke, they will turn the pin too deep into the wood, hence cracking the wood from within. The same can be said for turning the pins too loose(unwound too much). You’ll risk pulling the pin upwards when we eventually tune a newly replaced string. You can take a look at the pictures below.
That is why, it is important to ensure the pins are loosened at the appropriate length. If done correctly, you’ll see the pin stick out this much.
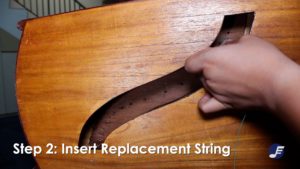
What comes after this? Flip the Guzheng over, and insert the strings of course! We’ll be using string no.3 for our demonstration. Insert into the corresponding hole and pull all the way until the metal stopper meets the wood. Flip the Guzheng back down, continue to bring the string to the other end of the Guzheng, and place the string into the respective insertion hole (in this case, it’s hole no.3).
The next step is crucial, as it determines the level of stabilisation of the strings and the overall condition of the string. You’ll have to watch the video to help you further visualise this process. Basically, it involves creating a self-made loop around the excess string sticking out of the pin as we wind and tighten the string. If we don’t do this step, we might risk the string loosening on its own fairly quicker than not doing this step.
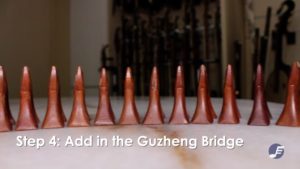
The final step is to fit the bridge underneath the new string you’ve replaced. We’ve arranged the bridges from tall to short (left to right). The shortest bridge is for string no.1 while the tallest one is for string no.21.
You may refer to the measurements below to help determine the distance of the bridge from the right side of the Guzheng. Do note that this measurement is used for D major scale tuning.
Bridge 1: 15.5cm
Bridge 2: 18cm
Bridge 3: 20cm
Bridge 4: 23cm
Bridge 5: 26cm
Bridge 6: 28.5cm
Bridge 7: 32cm
Bridge 8: 34cm
Bridge 9: 38cm
Bridge 10: 42.5cm
Bridge 11: 46.5cm
Bridge 12: 51cm
Bridge 13: 55cm
Bridge 14: 59cm
Bridge 15: 63cm
Bridge 16: 67.5cm
Bridge 17: 72cm
Bridge 18: 75cm
Bridge 19: 80cm
Bridge 20: 84.5cm
Bridge 21: 90cm
So that’s all to it! It does sound daunting, but don’t be afraid to keep trying if your strings break during process. You can always get in touch with us to arrange a session to do it for you if you still can’t get it. We can even give you a personal tutorial just to make sure you can do it on your own in the next round!
Now, enjoy this episode of EMTV! See you in the next post!

